This is a sponsored post written by me on behalf of Cricut. All opinions are 100% mine.
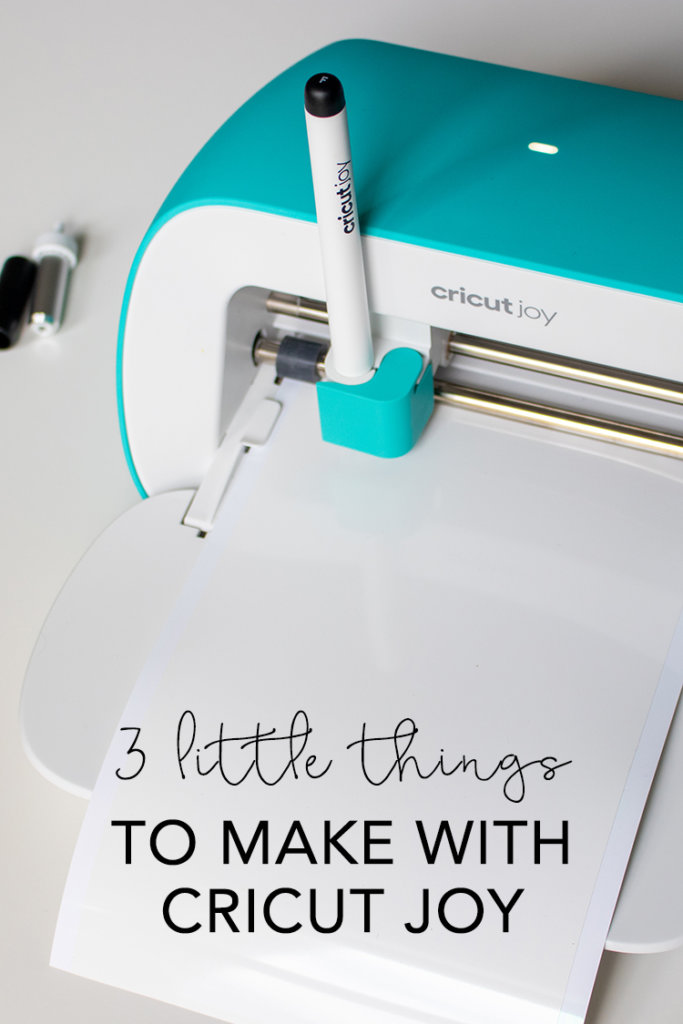
I’m so excited to be working with Cricut to review the new Cricut Joy. In this post I’ll be sharing a few super simple projects you can make with Cricut Joy, as well as my favorite features and how I plan to use it.
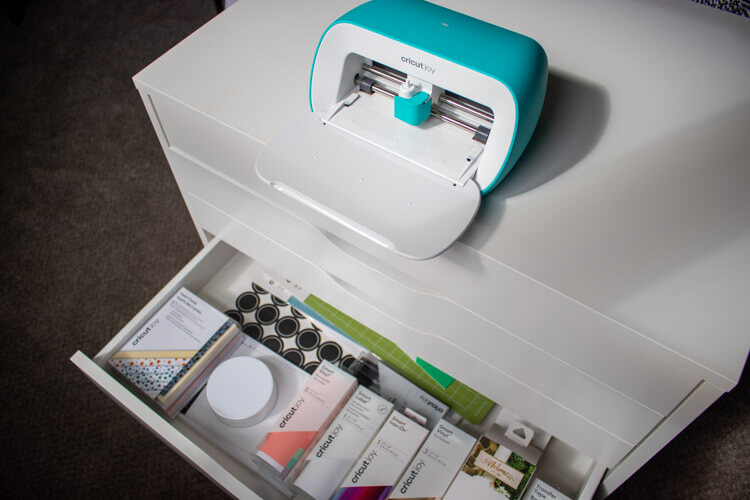
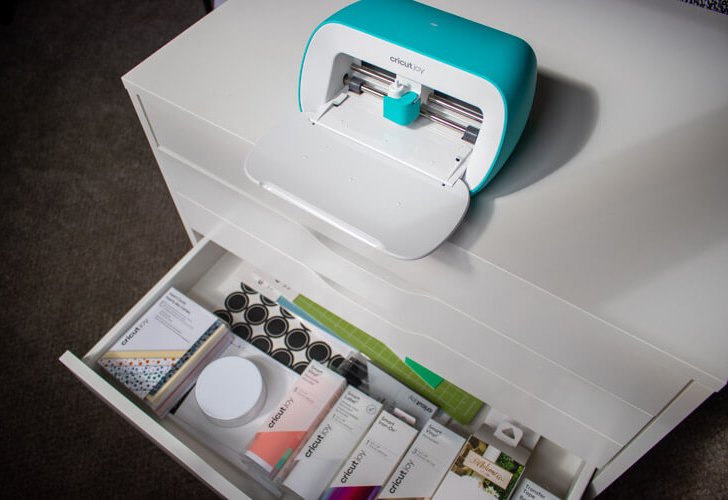
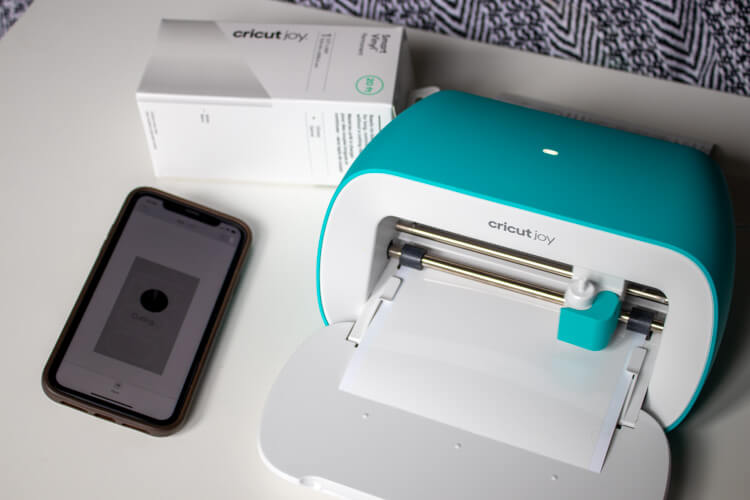
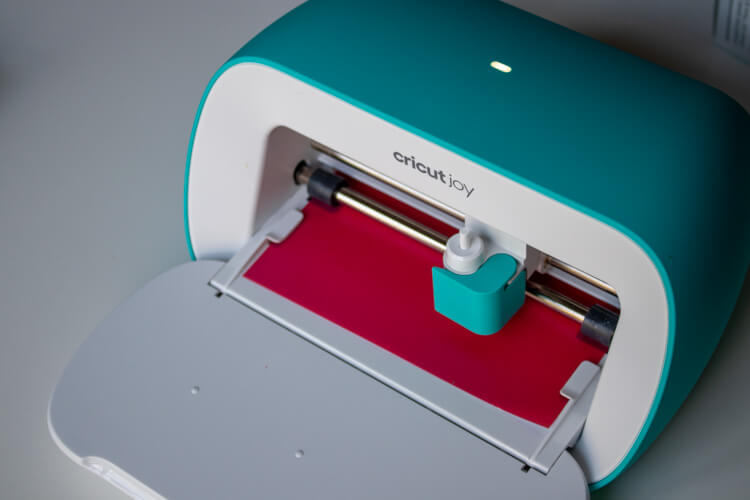
Cricut just came out with its newest, and smallest machine, Cricut Joy. Guys, I am so excited for this mini cutting machine. It’s going to be so much easier to pull out and make simple, practical projects in 15 minutes or less. It’s perfect for those one cut, one color projects.
Unlike the larger Cricut machines, this one doesn’t require a mat for certain materials if you use their smart materials. You just load the material straight into the machine. You can still use a mat if you aren’t using the smart materials. So you can still use your normal Cricut materials if you cut them down to size.
3 Simple Cricut Joy Projects
I tested out my Cricut Joy with these 3 simple projects. I’ll walk you through how easy it is to use and few of the handy features it has.
Mailbox Numbers
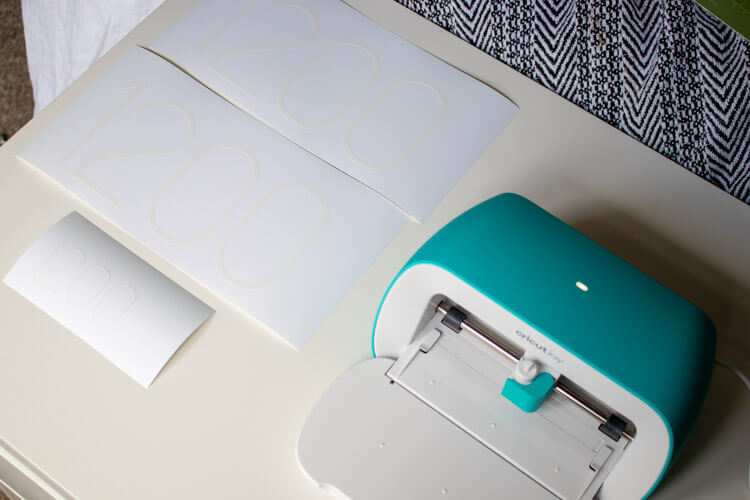
The first thing I wanted to make was modern mailbox numbers. I actually made these for my sister. So I used the Permanent Smart Vinyl so it holds up well.
The longest part of this project was actually choosing the font. I went through all the Cricut fonts to see how they looked as numbers, and eventually settled on Simple Celebrations.
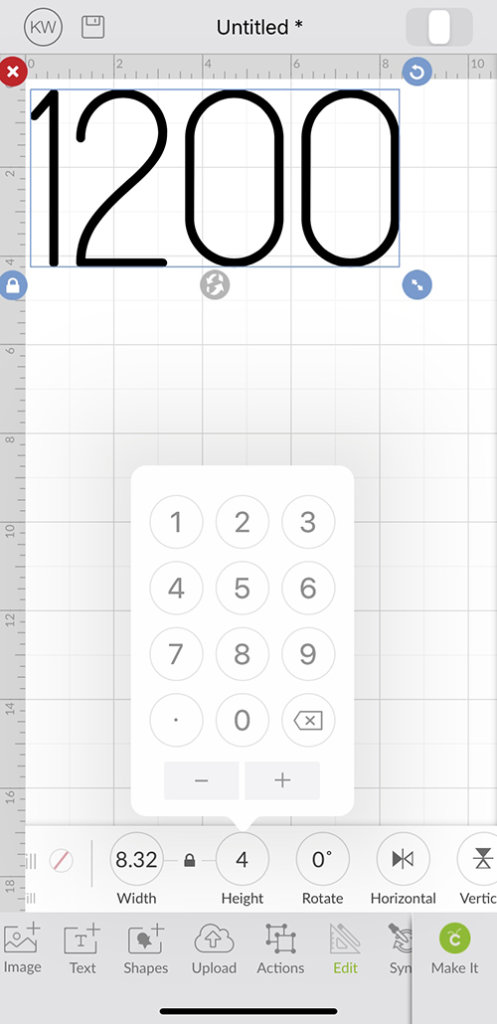
For the first time I used the Cricut Design app on my phone. It was super easy to connect to Cricut Joy via bluetooth. To adjust the size I went to the edit tab at the bottom and edited the height for 4″.
When I was ready to cut, I just followed the steps in the app. Once you confirm you’re ready to “make it,” it will tell you how much Smart Vinyl you need to load into the machine. I accidentally cut my first piece too short and it made me add a longer piece, so you really can’t screw it up.
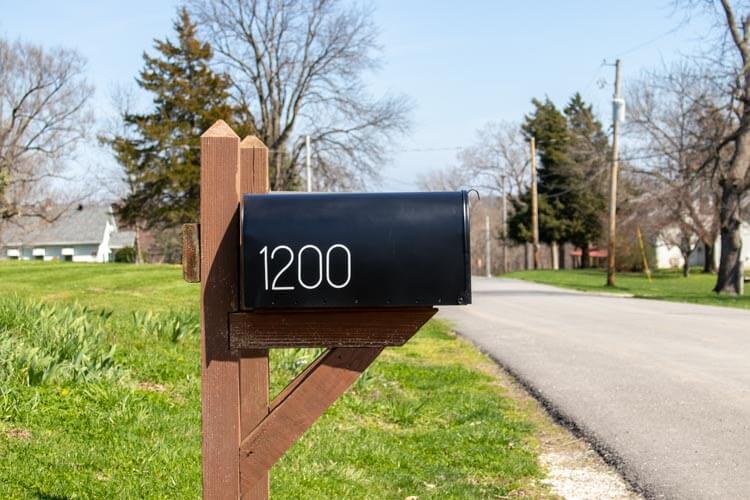
We could have used Transfer Tape to transfer the numbers to the mailbox but we just stuck them on like stickers instead. My sister had recently spray painted the mailbox, so I didn’t want the transfer tape to accidentally peel off the fresh paint.
The mailbox turned out super cute! All the time I spent going through fonts definitely paid off.
Labels
My second project was to test out a couple of the features that will come in handy for something super practical…labels. I’m super excited to be able to grab Cricut Joy and whip out whatever labels I need in just a few minutes.
I decided to make some name tags for my daughter’s school stuff. She doesn’t need it now, but when they go back to school, these labels will be waiting for us.
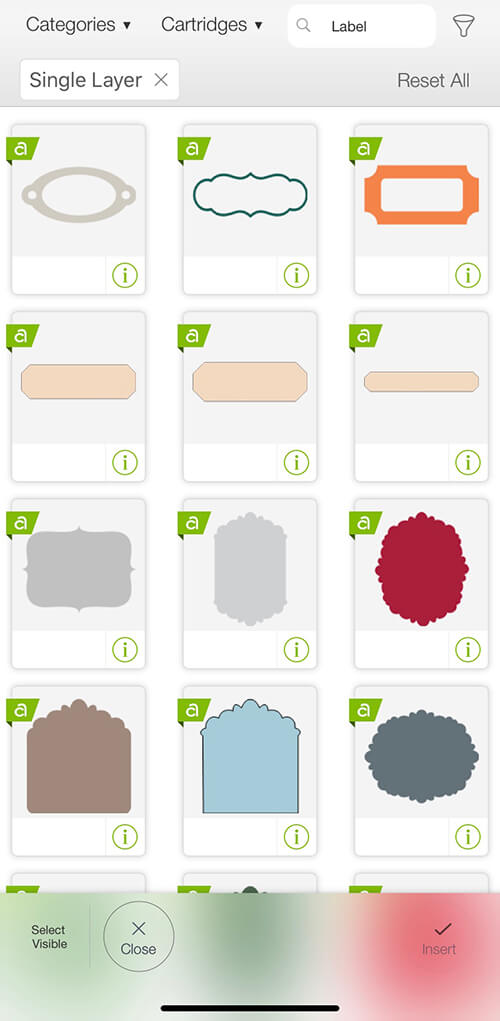
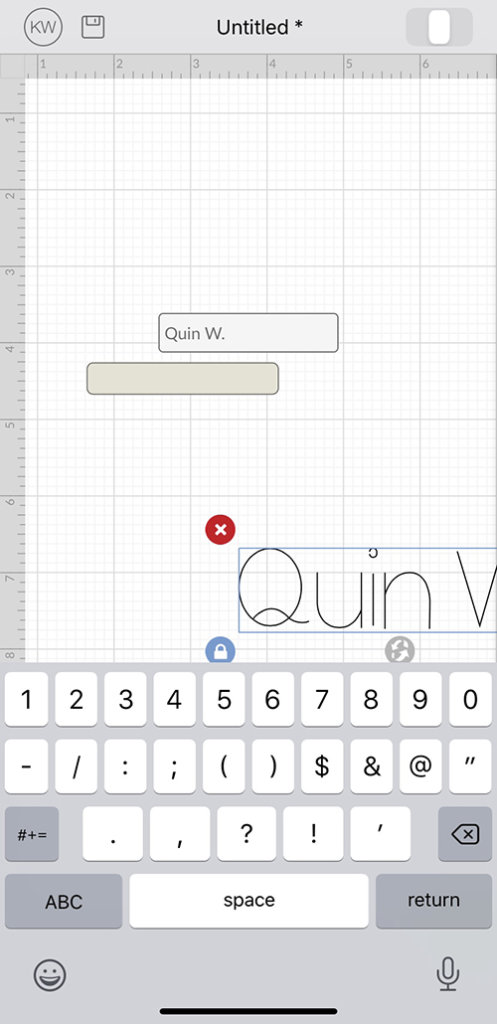
To make your own labels, click the image+ option in the bottom left corner and type in label. A ton of options will come up and you can choose the ones you want. I chose a simple label and made it 2″ wide.
Next you add your text and drag it over the top of your label. Resize your text as necessary.
The Cricut Joy has the ability to write so I definitely wanted to test out that feature with these labels. I made sure to choose a handwriting font for my text.
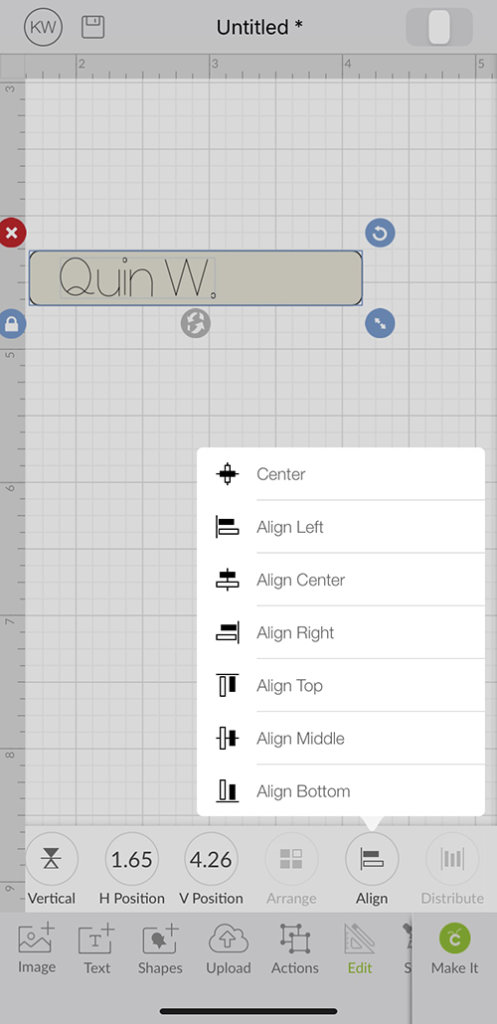
Next you’ll want to select both items by dragging your finger over them in one swipe. Go to the edit section on the bottom menu and align center to make sure your text is in the middle of the label.
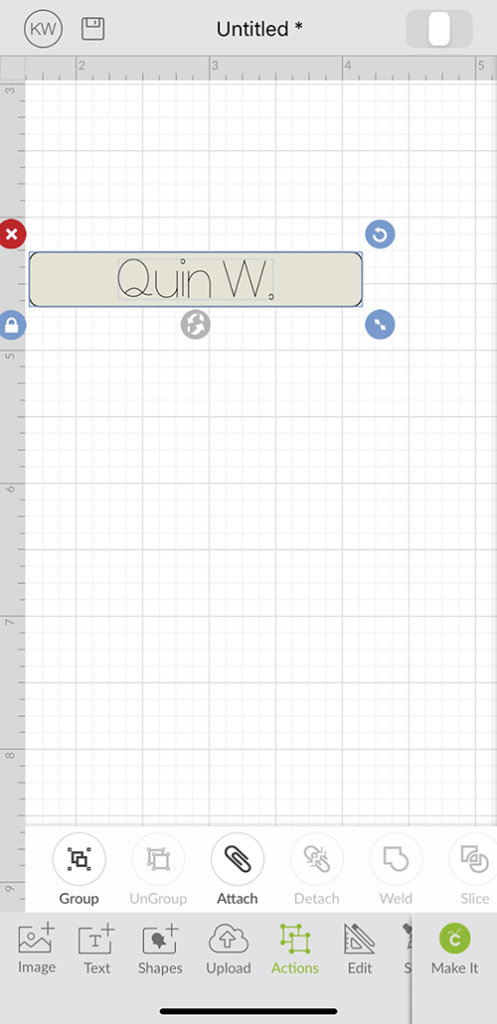
Then go to the actions section and attach them together. You can also scroll over in this actions section and choose to duplicate as many times as you want. This way you can make multiple labels at once. This works well for name tags. I chose to make 8.
If you’re duplicating yours, you don’t need to worry about correcting the spacing between each label before you cut. The machine will do that automatically.
When you’re happy with your labels, just tap the “make it” button and follow the directions.
I accidentally grabbed the wrong material the first time. There is a specific Writable Vinyl you need to use if you’re making labels. If you use the normal vinyl like I did the first time, it just smudges around.
But once you have the Writable Vinyl in, it’s a super nifty process.
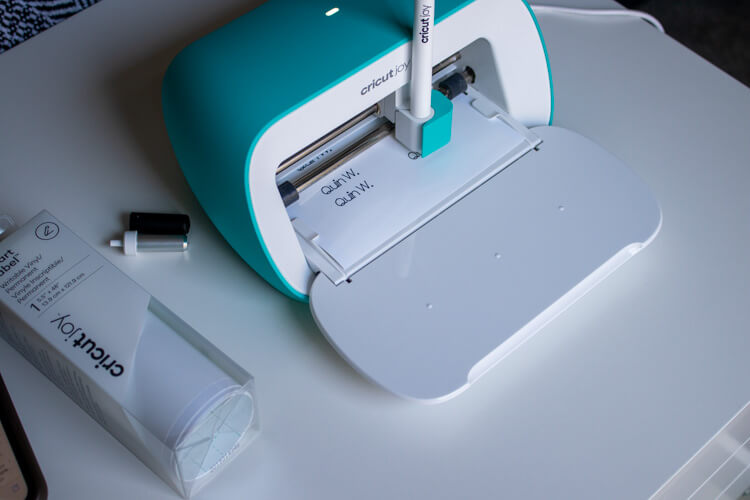
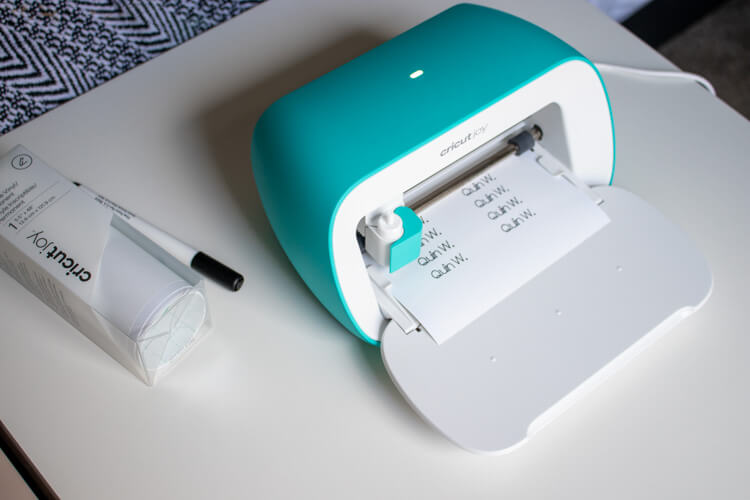
Following the instructions in the app, it has you put in the pen first. Then you’ll get a notification to switch out the pen tool with the blade tool so it can cut the label shapes. Then you’re done!
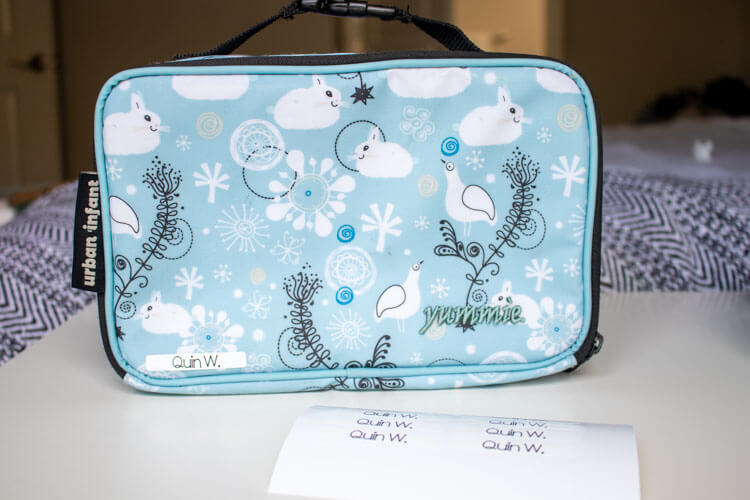
I stuck one of the labels on Quin’s lunchbox and stashed the rest in our mail sorter to use when school resumes.
If you’re looking for more label ideas, there are tons of them in the Cricut Design Space. You can also just search “Organize” or “organization” and you’ll find so many cute ways to label and organize anything and everything.
Easy Iron-ons
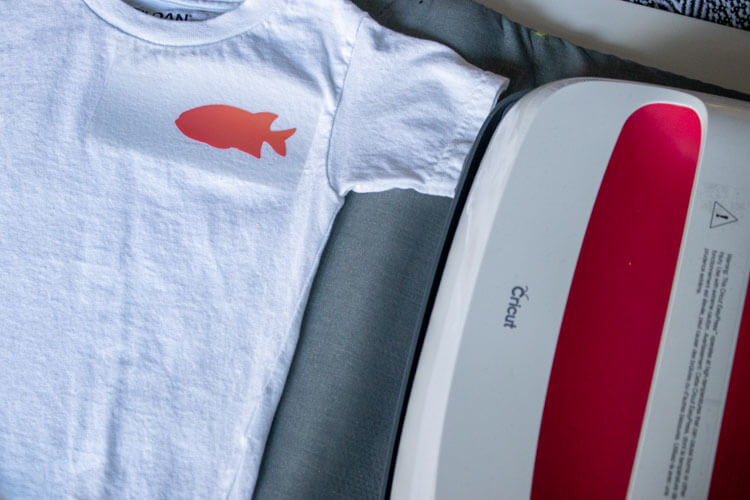
The last project I made while testing out Cricut Joy was just a super simple iron on project. My oldest is obsessed with fish, so I grabbed a white t-shirt and some Smart Iron-on and quickly printed off a fish shape to iron on in the pocket placement.
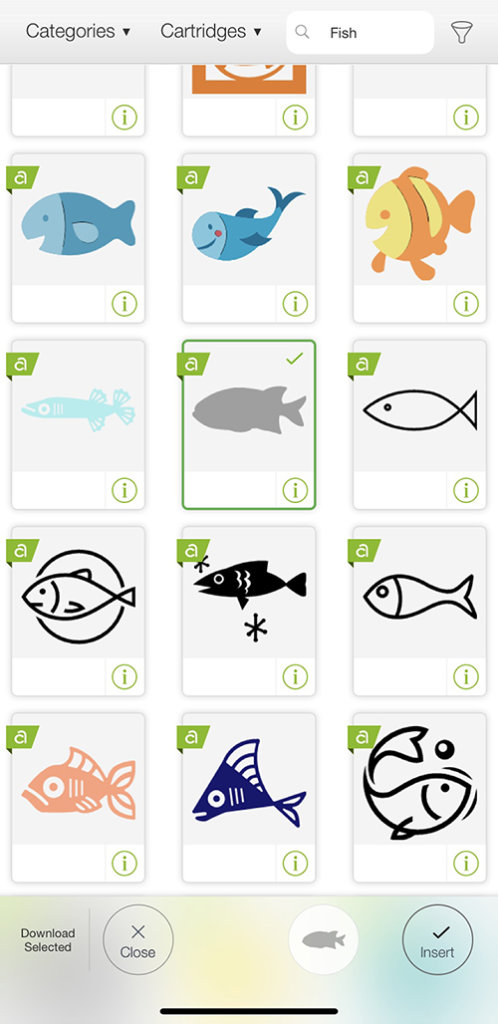
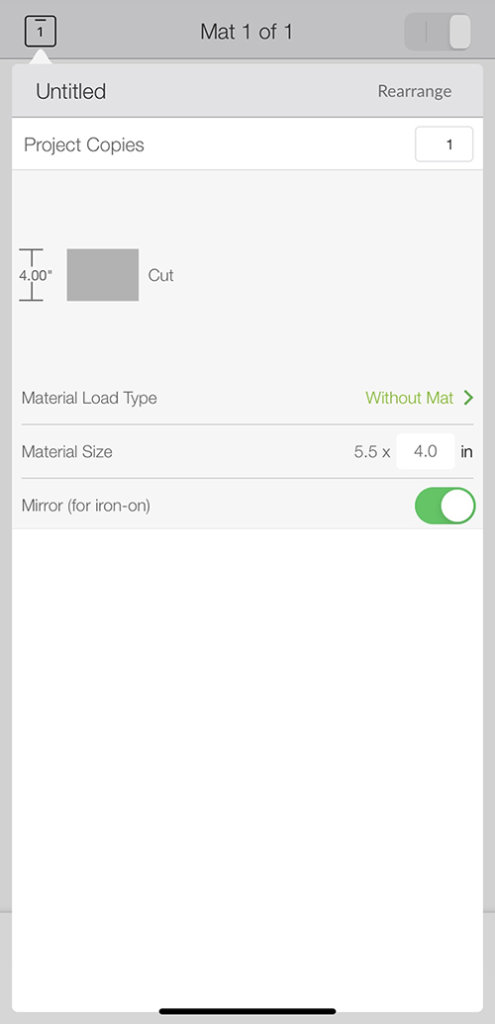
I just chose my design in the design studio and followed the directions to cut. I made sure to mirror the image although in this case it wouldn’t have mattered too much. Then I used my Easy Press to iron it on.
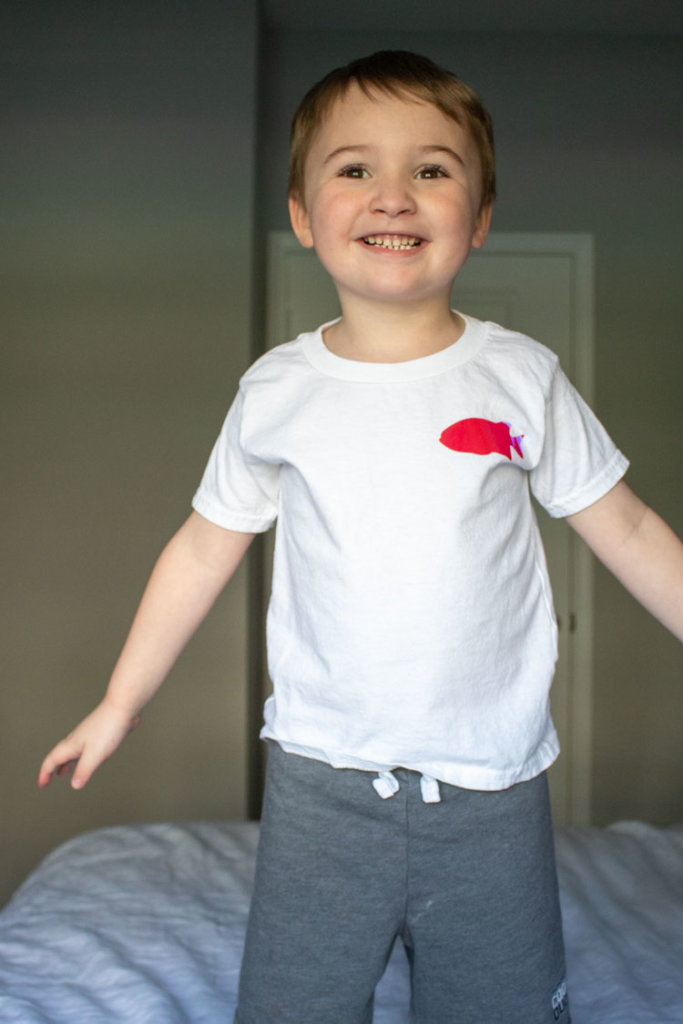
In just a few minutes I had a super happy little guy who wore his new fish shirt around for the rest of the day. He’s been begging to make it a school of fish instead of just a single fish, so we may add on to the design soon.
As I was searching organization ideas, I saw a few iron on label projects that I thought looked super cute. I just couldn’t find a way to make them with what I had on hand. I love the idea of thinking outside the box when it comes to little things you can iron-on.
Overall, I really love Cricut Joy. I think it’s going to be incredibly handy for creating small, quick projects. I can definitely see myself using it all the time.
The small size makes it easy to grab and connect to your device with bluetooth and get to cutting within minutes. You don’t need a ton of work space or many supplies and your project will be done before you know it.
Looking for more Cricut Ideas? Try these!
Customize your planters with these cute planter designs.
Learn more about the Cricut Explore Air 2.
Create sustainable gift wrap for any occasion.