
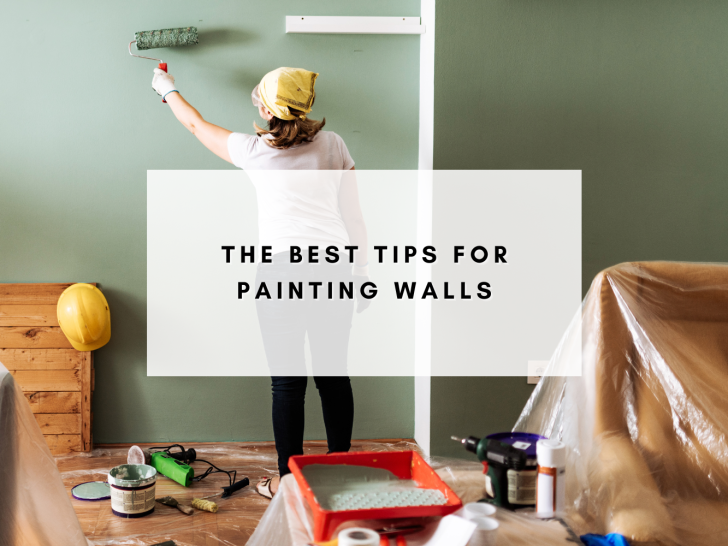
Discover the best tips for painting walls, and get pro results with less mess using these easy, beginner-friendly techniques.
I’m so excited to share our recent bedroom paint makeover with you! When we first moved into our home, I painted nearly every room—including while I was seven months pregnant. It’s safe to say I’ve done a lot of painting over the past few years, and I’ve learned a few tricks that make the job smoother, faster, and better.
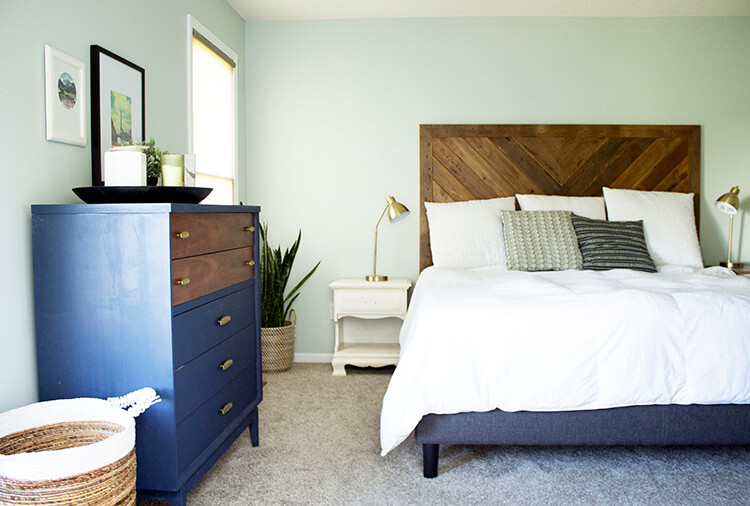
Recently, I gave our master bedroom a much-needed refresh. We originally had it painted in Sherwin-Williams Sea Salt, a soft and calming green-blue, which served us well for three years. But lately, I’ve been drawn to bold, moody paint colors like the ones I keep pinning on Pinterest. So, I decided to bring that vibe into our bedroom.
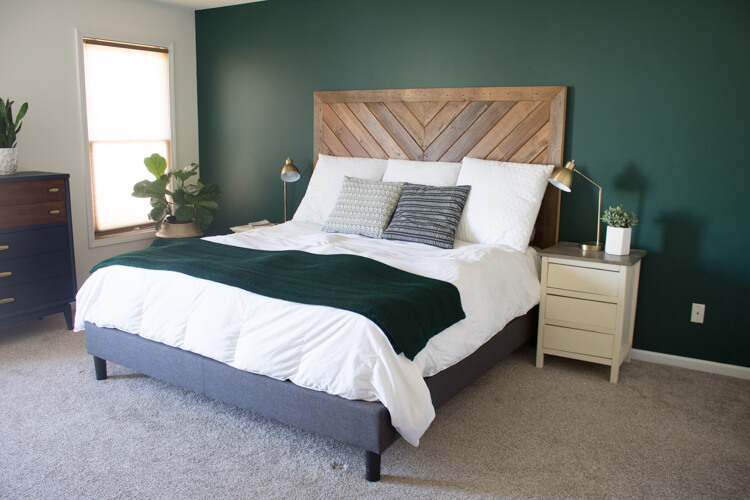
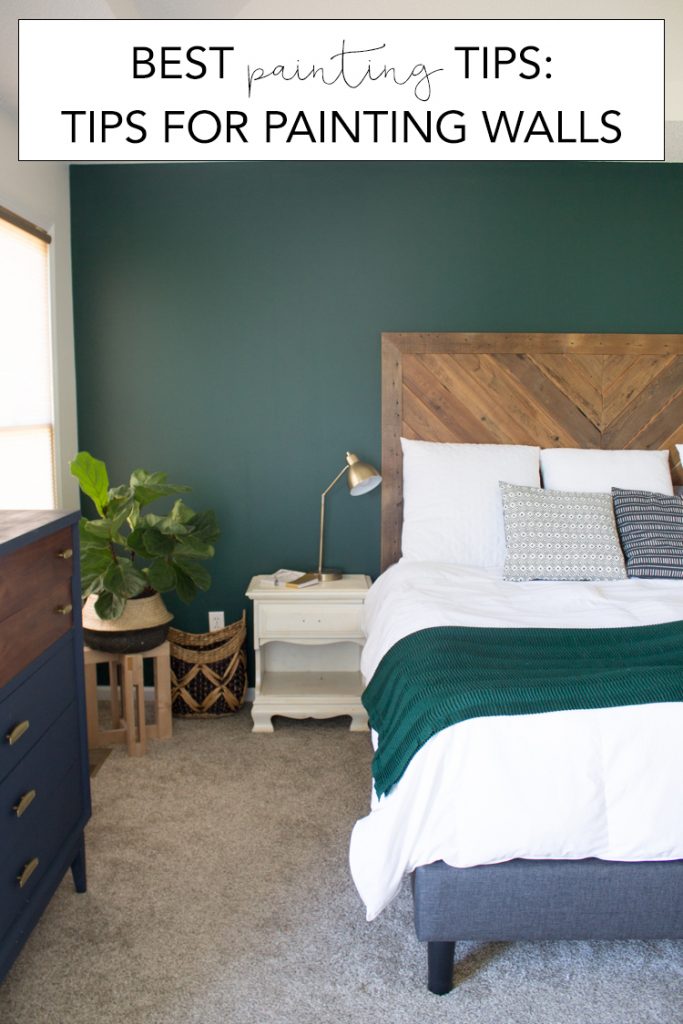
I chose Valspar Peacock House for a bold green accent wall behind the bed and Benjamin Moore Simply White for the remaining walls. The contrast is stunning, and I love how the white helps the doors (we have six in this room!) blend in seamlessly. It’s not completely styled yet, but I’m loving how it’s coming together!
This paint project included all the common challenges that come with painting walls—so today, I’m sharing my best tips to help you get pro-level results, even if it’s your first time picking up a paintbrush.
Supplies You’ll Need for Painting Walls
Get all your supplies ready before you even open a paint can. Nothing slows down progress more than realizing you forgot something mid-project!
Here’s my go-to painting supply list:
- Quality angled paintbrush (for cutting in)
- 9-inch roller frame and roller covers
- Paint tray with disposable liners
- Painter’s tape
- Drop cloth or plastic sheeting
- Paint can opener and stir sticks
- Screwdriver (for outlet covers and switch plates)
Step-by-Step Wall Painting Tips
1. Prep Like a Pro
- Move furniture or push it to the center of the room.
- Remove outlet covers and switch plates.
- Dust trim, corners, and baseboards.
- Tape off anything you don’t want to paint.
Taking the time to prep thoroughly will save you major cleanup later.
2. Paint the Walls Before the Trim
If you’re painting both walls and trim, always start with the walls first. It’s easier to tape off flat wall surfaces when it’s time to do the trim. Trim pieces often have ridges and gaps that make it harder to seal the tape completely, which can lead to bleeding.
3. Cut In First
“Cutting in” means painting around the edges—ceilings, trim, corners, and around outlets. These 2″ Wooster’s are my absolute favorites for control and clean lines.
Pro tip: Use a steady hand and avoid overloading your brush to reduce drips. It usually takes two coats for full coverage when cutting in, so keep that in mind.
4. Roll in Long, Even Strokes
Use a roller with a decent nap (3/8″ is a safe bet for smooth walls) and work from top to bottom in vertical strokes.
Make sure your roller is well-loaded with paint. If it starts feeling dry or patchy, stop and refill. Trying to stretch a roller too far means more coats and more time.
Pro Tip: Roll in sections of about 3 feet wide and overlap slightly as you go. Lightly roll over the area again to smooth out any roller lines before the paint starts drying.
A paint extender can also be helpful for tall walls or painting top to bottom in one motion.
5. Perfecting an Accent Wall
Painting an accent wall is fun—but the tricky part is getting those corner edges perfect where two colors meet. Here’s how to make it crisp:
- Use painter’s tape on the adjacent wall.
- Smooth it down firmly with a credit card to seal the edge.
- Paint carefully and pull the tape off while the paint is still wet for the cleanest line.
- Touch up any leaks with a small artist’s brush.
Painting walls might be one of the most beginner-friendly home projects out there—but doing it well takes a few tricks. Whether you’re refreshing a whole house or tackling one room at a time, having the right supplies and plan makes all the difference.
Here’s what I learned (and love) from this project:
- Bold colors like Peacock House can totally transform a space.
- Keeping the other walls neutral makes everything else shine.
- And yes—anyone can paint a wall with great results if you prep and follow the process.
I’ll be updating this room a bit more soon (think: new rug, bedding, and a few fun decor touches), but the fresh paint made the biggest impact by far!
See the updated version of this room!

Jenny Asher
Sunday 7th of February 2021
What is the white wall color? It goes well with the peacock house
Kala
Wednesday 10th of February 2021
It's Benjamin Moore Simply White - I use it for all the white walls in my house and love it!
Alexander Frederick
Tuesday 17th of November 2020
Thanks for sharing this amazing as well as informative blog with us. Keep up the good work and keep sharing.
Steve Davis
Wednesday 28th of October 2020
I appreciate your post, these tips are really helpful to choose right color It’s amazing how lighting affects a color. Thanks for sharing the great tips
Diane Price
Wednesday 7th of October 2020
What a handy post. I love the green paint color. You just inspired me to get nifty again!
Alessandra Tortone
Thursday 18th of June 2020
Woohoo!! Thanks for sharing these amazing tips with us. Your guide is truly wonderful.