Skip to Content
Search
Search for:
Close Search
×
About
Privacy Policy
Home Decor
Minimalism
Houseplants
Courses and Resources
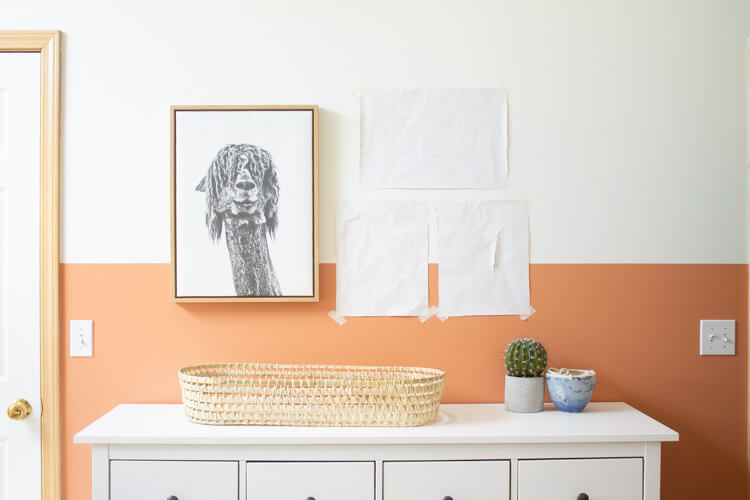
Gallery Wall (2 of 2)
Post navigation
How to create a good gallery wall in 5 simple steps
Click here to cancel reply.
Δ