
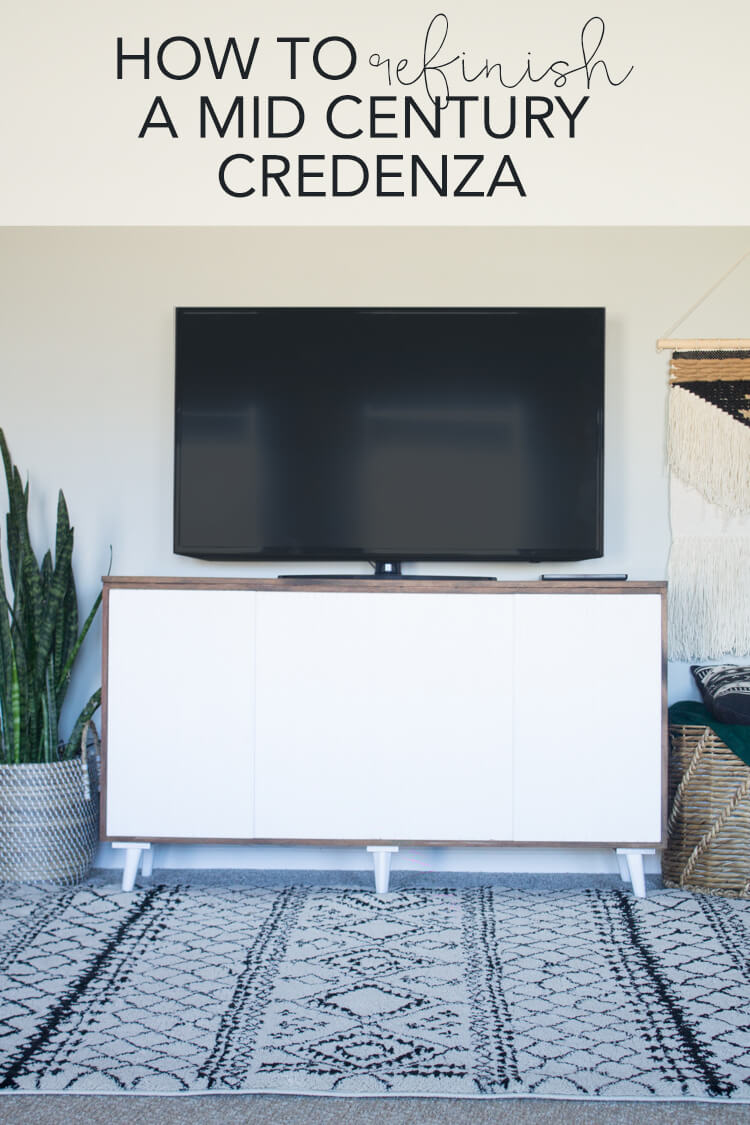
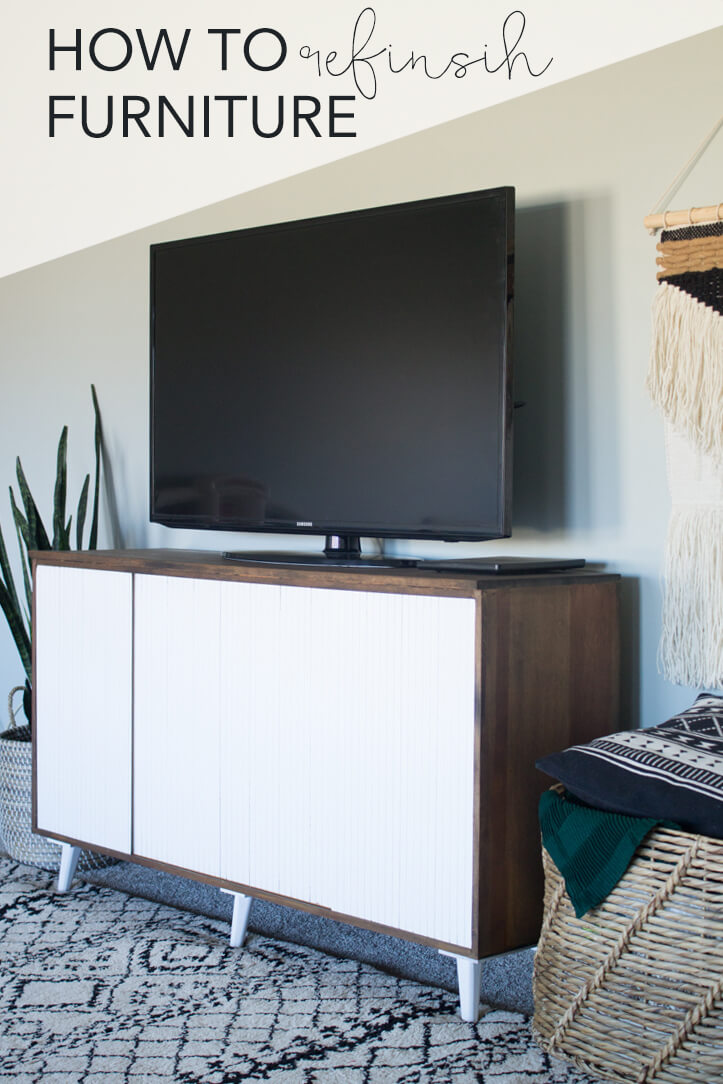
I have been looking for a decent mid century style credenza/media console to use as our TV stand for about two years. I wanted something that would be stylish, but would also hold a decent amount of toys and store them out of sight. When I finally found one that fit my style and budget, it needed a little work. I love a good before and after and still get so many questions about painting furniture, so I thought this would be the perfect time to show you how to I go about refinishing a dresser.
This post contains affiliate links.
We had been using this dresser I found for $5 since around the time I graduated from college. It wasn’t really stylish and it didn’t hide anything out of sight, but for $5 we stuck with it until I found something that fit the bill. As you can see in that post, this whole decorating thing has taken a long time to take shape. Part of it was defining my style, and part of it was just finding the right pieces at the right prices.
I was really specific about what I was looking for – I knew I wanted something with doors (not drawers) and open shelving inside, so I could fit toys of varying sizes in it. This is the space we spend most of our time in, so I’m trying to find solutions to make it stylish and kid friendly.
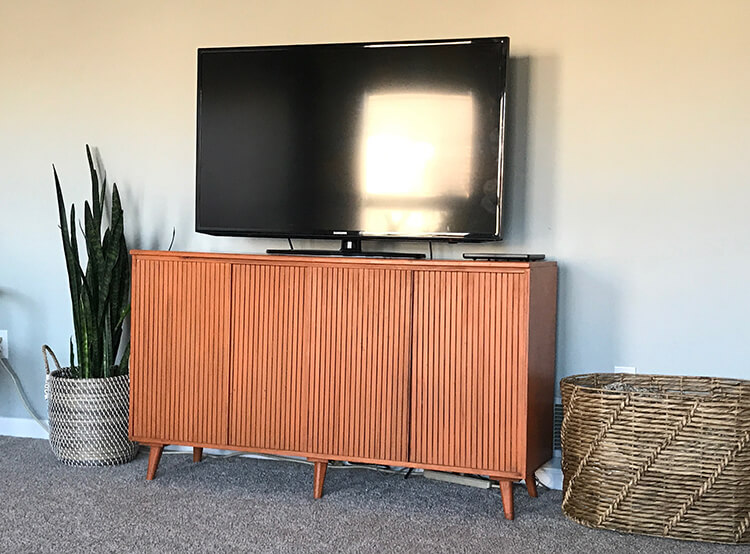
Finally my husband found this one in Craigslist. I loved the shape but the finish wasn’t great. Someone had painted it orange and glazed over it. It was sad because the original finish seemed to be a really nice color!
Refinishing a Dresser
First I attempted scrubbing off the paint with Krud Kutter. Krud Kutter can take off latex paint, so while the scrubbing is a lot of work, it’s an option that doesn’t mess up the original finish. Unfortunately, the paint didn’t budge so it must have been an oil based paint.
At this point I decided I would take the piece down to bare wood on the flat outer edges and restain it, and then paint the legs and doors white since I didn’t want to mess getting the paint off those areas.
So to do this I had to strip the piece using Citristrip.
A few tips for stripping furniture:
Do it outside or in a well ventilated area. Citristrip says it’s safe for use indoors, but it’s still really fumey. Put a drop cloth under your piece and have a plastic bucket ready to scrape the goop off into. Also use a metal scraper like this one (it works much better than a plastic one) to scrape it all off in straight lines. After you scrape as much as you can off, use a cloth and Krud Kutter to wipe away what’s left. You might have to strip your piece a couple times to get all the previous paint and stain off.
Next, you’ll still need to thoroughly sand down to bare wood after stripping. I used an orbital sander and sanded until all the sides were the same color of raw wood. I promise once you get through this step it’s going to get a lot more fun. However, I do not promise you’ll enjoy this step at all. :)

How to stain furniture
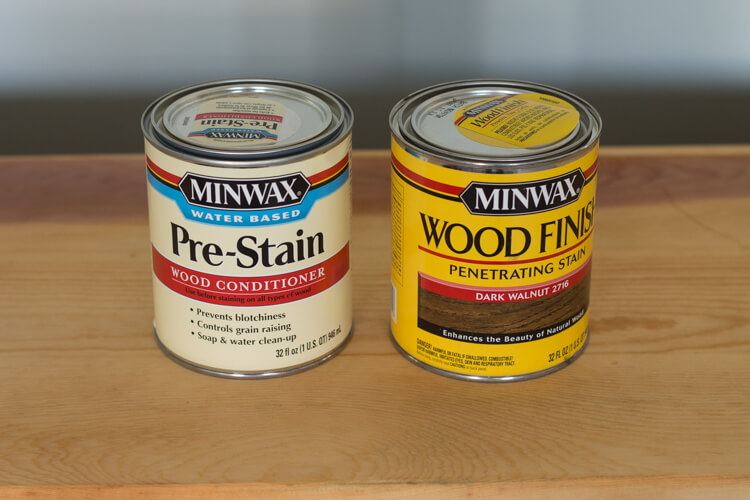
When I was ready to start staining, I picked up some Minwax Pre-Stain Wood Conditioner and Stain in Dark Walnut. The conditioner just ensures that the stain takes evenly. It only adds about 15-20 minutes to the application time, so I like to use it to be safe.
When applying stain I just brush it on with a chip brush and then use an old towel or rag and wipe it down after 5 minutes.
I’ll be honest, when I first applied the dark walnut, I panicked. I had a lighter color pictured in my head and it was looking way too farmhouse for my taste. What I’ve learned in these situations is to live with it for a while, and then see what you think.
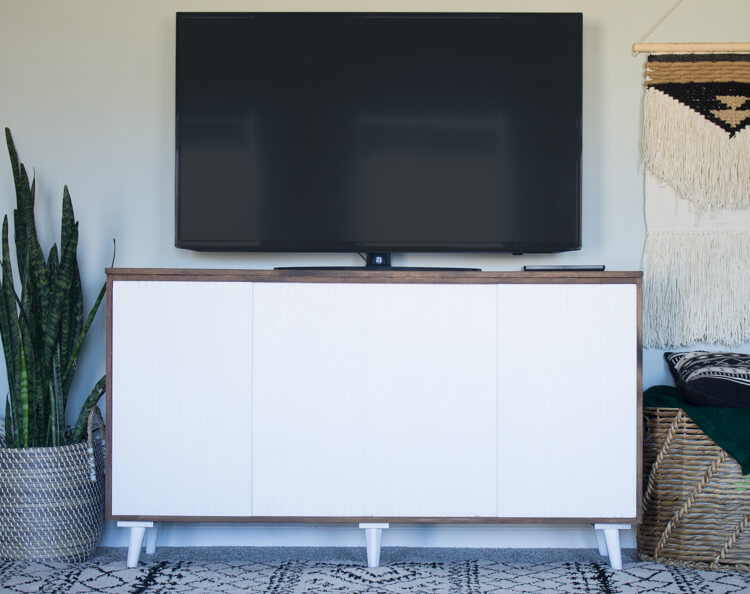
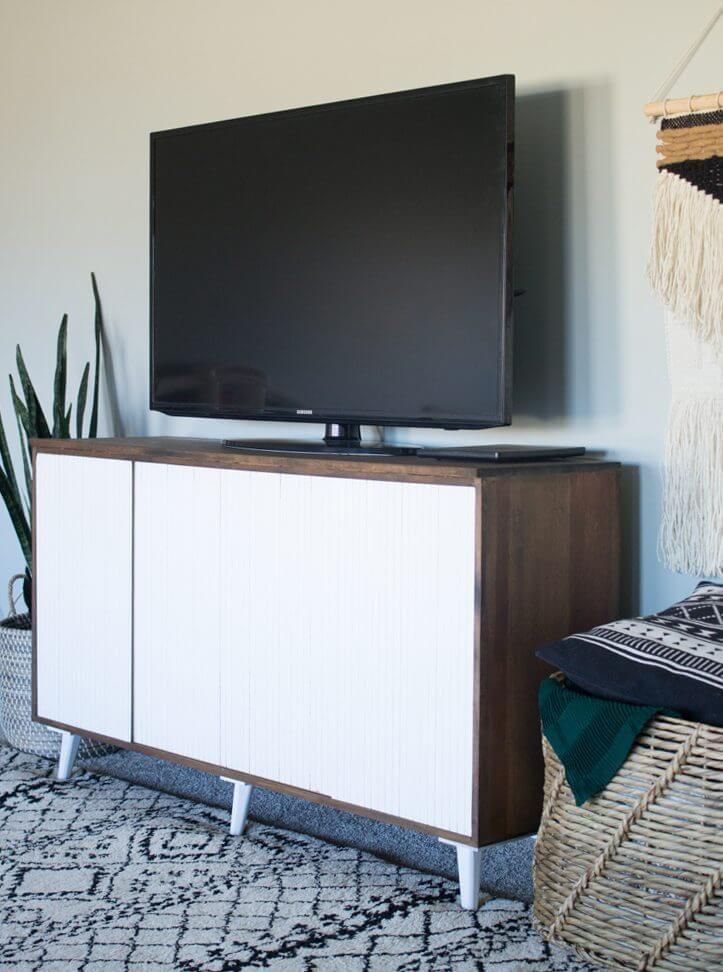
So I went ahead and painted the legs and doors white (used this paint) to see what it looked like. And what do you know, now that it is all said and done, I love it! The dark stain has really grown on me. And combined with the other modern decor in the space, it looks really nice!
Seal it in with water-base polycrylic and you’re done!
Here it is, finished!
If you found this tutorial about refinishing a dresser helpful, pin it!
If you’d like to know more about painting furniture, including a complete supply list, download my free furniture painting guide!
[embed_popupally_pro popup_id=”1″]

Lela
Wednesday 7th of March 2018
Ooh, I like it! It's very bright and chic. Are the shelves nice and big so that your kids' toys can stay in there without an avalanche happening every time you open the door? (Come on, we've all been there!) Anyway, it's a great-looking console, and I love how you've brightened it up.
Kala
Thursday 8th of March 2018
I can't believe I didn't share a picture of the toy storage. I'll have to add one. It's so good! I did have it jammed full at first, but then I couldn't take it and donated a bunch of toys. Mean mom, I know!
Diana
Thursday 1st of March 2018
Wow! That looks fabulous. Could never have imagined it would looks so good. You did a great job. I love it too!
Kala
Monday 5th of March 2018
Thanks, Diana! It was touch and go for a bit, ha!