
Holiday decor that doubles as winter decor that can potentially double as year-round decor? Sign me up! I’ve been trying to keep my holiday decor super simple this year and choose modern but classic pieces that will hopefully be in style for a few years. So I attempted this DIY scandi pillow and it was SO EASY.
I’ve used affiliate links to link to my favorite products for this project!

With a black couch and chairs in my living room, I really need to add some more white to balance things out. I’d really like to repaint my walls from light gray to white, but that’s not going to happen before the holidays!
I’ve been seeing lots of simple black and white holiday pillows all over the internet. (You can see the list of my favorites here.) Some of them look a lot like the wall art prints I created last year, so I thought there was a good chance I could use that idea again on a pillow. Best part, this pillow cost me a little over $7.
What you’ll need for this DIY scandi pillow:
Linen pillow (this one I used from Amazon is $7)
Black acrylic or fabric paint (I used acrylic)
Sponge (I actually used an old foam roller)
Tape
Ruler
Scissors
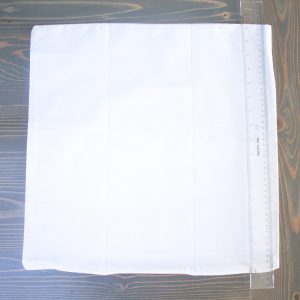
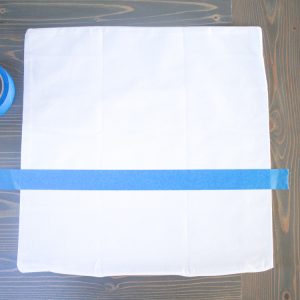
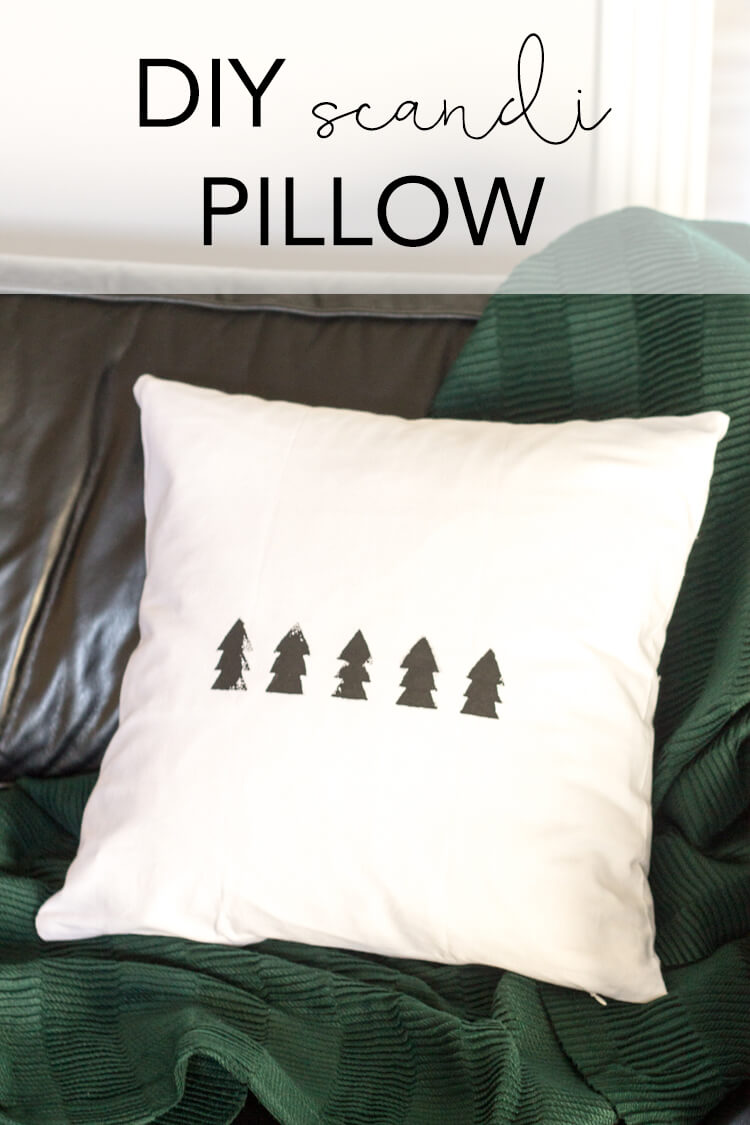
First you need to put something inside your pillow to keep it from bleeding through. I used the packaging it came in, so it doesn’t have to be anything fancy. Cardboard or wax paper will work great! Then measure a little less than halfway up the pillow and tape a line across it. If you buy the same pillow I did, taping at 7 inches worked perfectly!
Next cut your sponge into a triangle. The last picture below shows what mine looked like. Since I used a roller I just snipped 3 straight lines on the end of it. It wasn’t exact but I wanted it to be a little uneven to make it more interesting.
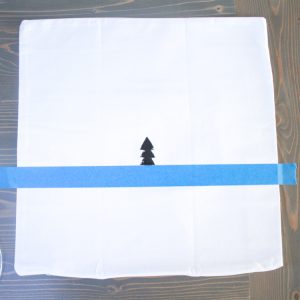
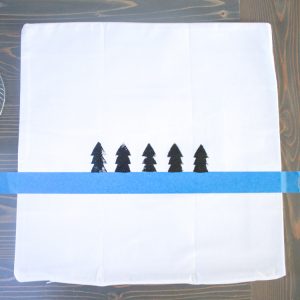
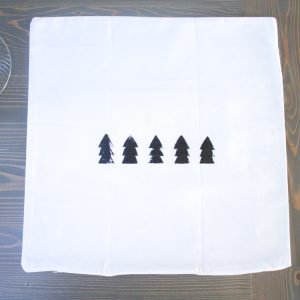
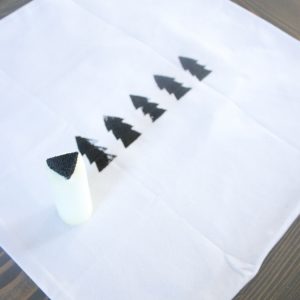
It’s helpful to mark the center of your tape line with a pencil mark and start stamping in the middle. You might want to measure out your other trees as well, but I just eyed it. Stamp the bottom of the tree first and work your way up to the top. Try to apply pressure evenly but don’t worry about it too much. I really like the spotty parts on mine, they’re my favorite!
Then let it dry, stuff it and get to decorating!
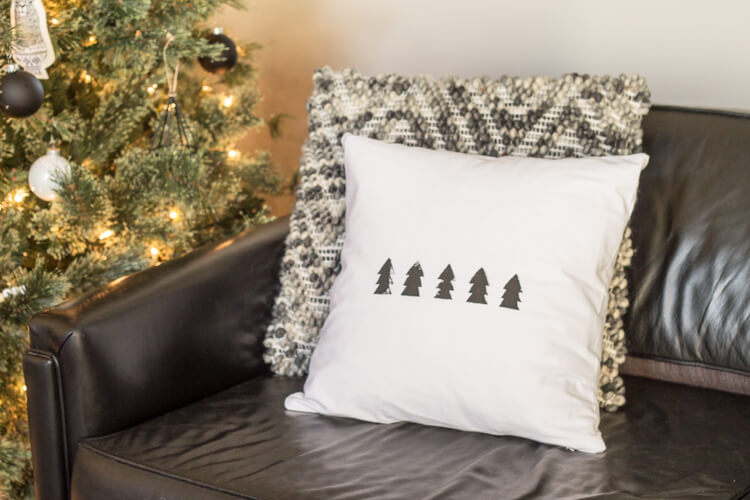
This project took no more than 10 minutes start to finish. That’s my kind of craft project! And it’s just so simple it’s perfect. What I love the most about these little projects is that even though they’re easy, they’re also customizable. You could cover the entire pillow in trees. You can make them bigger or smaller or you could make a tree of trees! Make the bottom row have 5 trees, the next row have 4, then 3, then 2 and 1. I was actually tempted to turn this one into that design but decided I’d just have to order another pillow for that one!
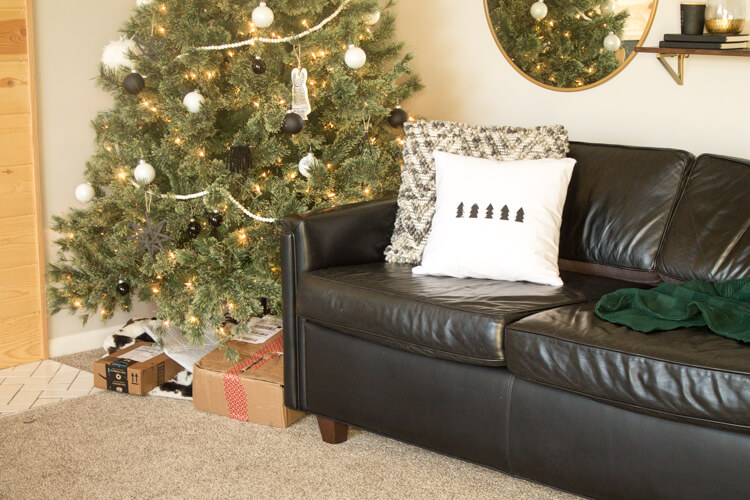
Sneak peek of our Christmas decor.
See the entire Modern Christmas Home Tour here.
As you can see, black and white and deep greens are the name of the game this year. And I obviously haven’t gotten around to wrapping any presents yet. I’m considering it a win that I’ve even bought any before the week of Christmas. #amiright?
If you liked this DIY scandi pillow idea, pin it!

Jenna Capelle
Tuesday 27th of November 2018
Love this idea so much! i'll have to make my own when I'm home for Christmas.
Bethany
Thursday 23rd of November 2017
love this! Such a cute idea, cant wait to have a go!