
Today golden oak is on it’s way out the door while darker stained wood and white paint is all the rage. You can see why by the picture above. I myself have already decided that when I buy a house my kitchen cabinets will be white on top and turquoise on bottom. I live and breath breezy.
My cousin brought this dining room set to me for a quick makeover before Thanksgiving. Here is what we started out with:

First, you should sand EVERYTHING. This is the worst part of painting anything, but if you just get it done all at once, then apply lotion to your hands generously, it’s not too bad. I’ve recently learned that sanding by hand with a sanding block really is the best way to go when your project hasn’t been previously painted. Electric sanders will leave marks in the wood that you’ll see when you stain it later.
After sanding, then you wipe down everything with a deglosser. This helps you clean off all the dust and gets your surface ready for stain. Wearing gloves for both of these steps is much more convenient than the dry, cracked hands you’re sure to encounter without them, especially this time of year.
Now you can stain. I purchased a gel stain from a local paint supply store. Home Depot and Lowes aren’t likely to carry a good quality one, so finding a local store and getting help from an associate is the way to go here. I ended up with an oil based gel stain, because that’s what they had, but you can also purchase a water based gel stain online, and that’s actually preferable for staining indoors on furniture that will remain indoors. You’ll want oil based if you’re painting anything that will live outside.
I was intimidated by staining before I jumped in and started doing it. It really isn’t that complicated. The gel stain gives you more time to work with the product until you get the look you like, unlike your normal liquid stain. I just applied my stain with a chip brush and feathered it out until all the lines were straight and the color was to my liking. 24 hours of drying time is ideal with stain, and then you should apply a few coats clear coat. I used Masterclear Supreme, but that stuff is pricey. Polyacrylic would also work, you’ll just have to apply a few more coats.
Then I painted two coats of white paint (Navajo White) on the legs of the table and the chairs and sanded the edges with my sanding block to give it a distressed look. If you use a good quality paint, you should have to seal it in with a clear coat if it’s not a high traffic item. I didn’t seal in the legs of the table, but I did seal in the chairs since they’ll constantly be sat in and touched.
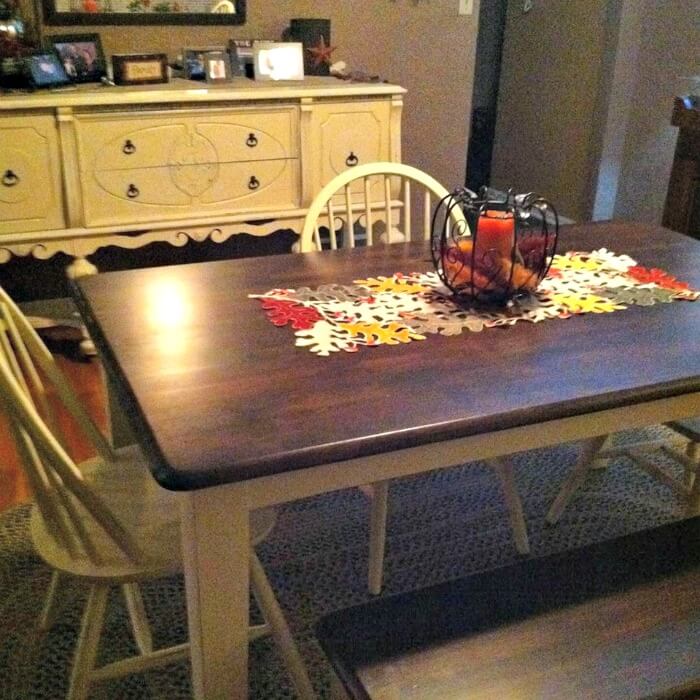
And ta-dah – here is the final look!
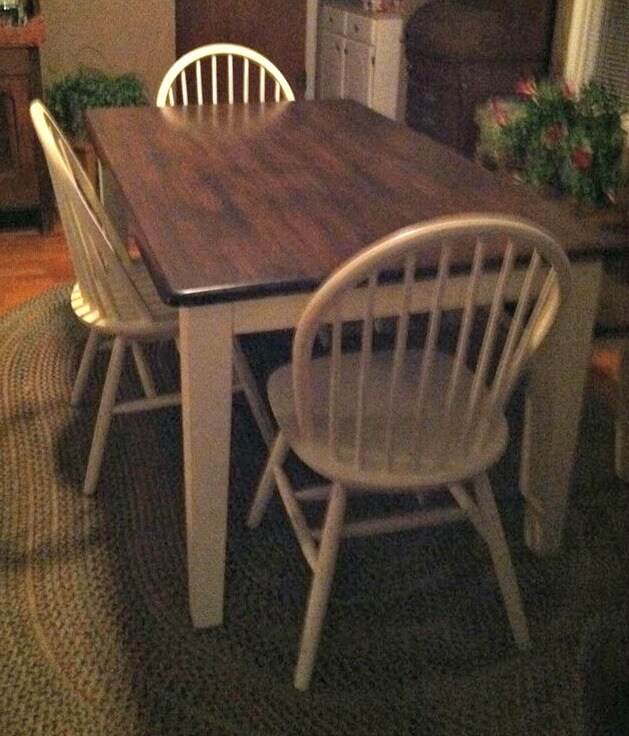
All in all this project took me about a day and half of constant working. The chairs definitely took the longest to paint, so the project really isn’t near as intimidating as it looks. I was so happy with how this set turned out and how pleased my cousin was with it when she got it back!
Are you tired of the golden oak look yet?
If you’d like to learn more tips and tricks for updating old furniture, download my free furniture painting guide.
[embed_popupally_pro popup_id=”1″]

Cindy
Monday 24th of November 2014
Looks great! I was just looking at the Navajo White paint swatch earlier this morning, and it seems pretty creamy. Is it more "white" or "cream" in person? xo
Kala
Wednesday 10th of December 2014
Sorry it took me so long to reply. I think it's more white honestly. It's not yellowy like other cream colors I've tried, but it's creamy enough to be more "primitive" than straight up white. :)